Why Ductless Mini Split Installation Is Revolutionizing Home Comfort
Ductless mini split installation offers homeowners a flexible, energy-efficient alternative to traditional central air conditioning systems. Unlike ducted systems that can lose over 30% of their energy through ductwork, these systems deliver conditioned air directly to each room.
Here’s what ductless mini split installation involves:
- Indoor unit mounting – Wall-mounted air handler secured to interior wall
- Outdoor unit placement – Condenser positioned on stable pad or bracket
- Line set connection – Refrigerant lines running between indoor and outdoor units
- Electrical wiring – Dedicated 220V circuit with 14/4 conductor cable
- Wall penetration – Single 2-3 inch hole for lines and drain
- System commissioning – Vacuum testing and refrigerant release
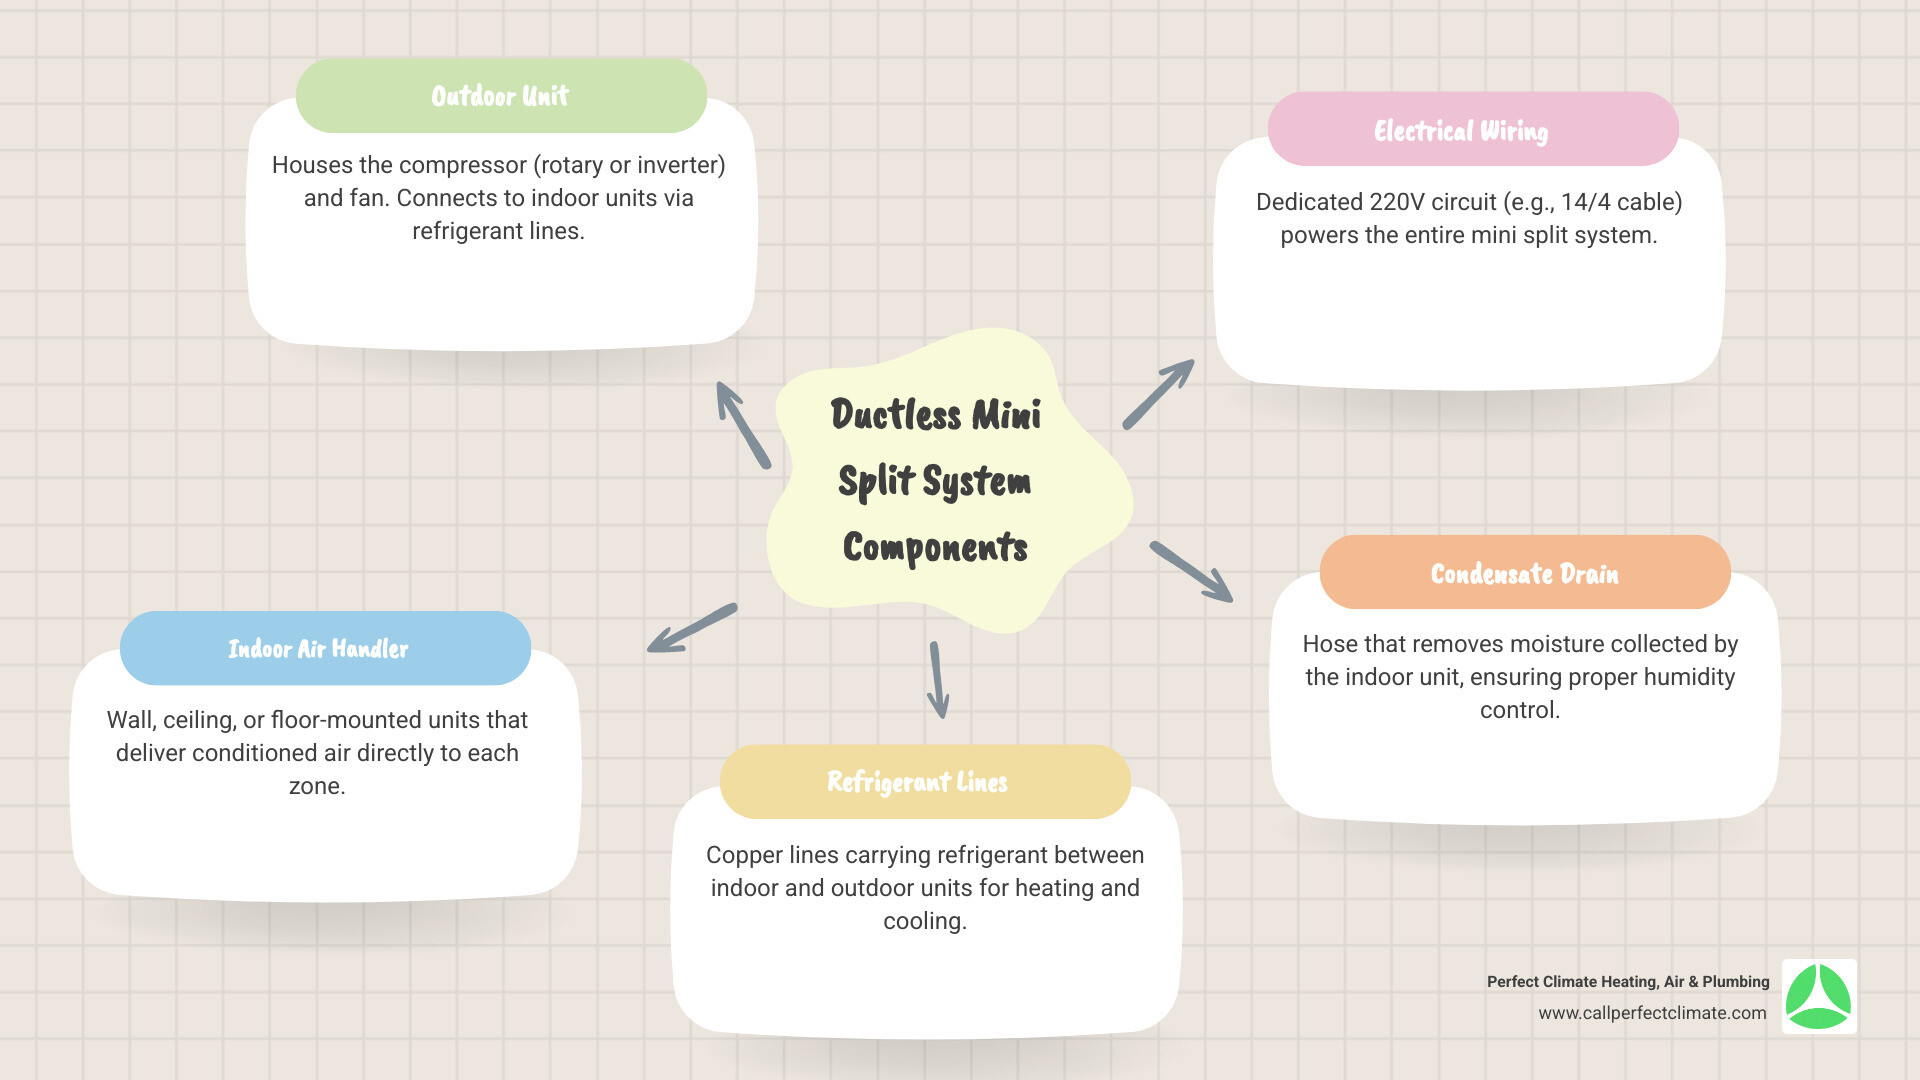
A ductless mini split system consists of an outdoor condensing unit connected to one or more indoor air handlers through refrigerant lines and electrical cables. The outdoor unit houses the compressor (either rotary or variable-speed inverter type), while indoor units can be mounted on walls, ceilings, or floors.
These systems excel in versatile applications – from room additions and older homes without existing ductwork to high-performance buildings seeking zoned comfort control. Single-zone systems serve one area with cooling capacity ranging from 3/4-ton to 2-ton units, while multi-zone systems can support 2-5 indoor units with up to 4 tons of capacity.
The main advantages include superior energy efficiency, quiet operation, individual room control, and no ductwork requirements. However, they typically cost more upfront than window units and may require professional installation to maintain warranties.
Modern mini splits achieve SEER ratings from 17 to 42, far exceeding the minimum requirement of 15. This efficiency, combined with their ability to provide both heating and cooling, makes them worth the investment for many homeowners seeking reliable, long-term comfort solutions.
Pre-Installation: Planning and Preparation
Getting your ductless mini split installation right starts with proper planning. This phase lays the foundation for years of comfortable, efficient heating and cooling. Careful preparation sets you up for success from day one.
Choosing the Right System Type
Your first decision is whether you need a single-zone system or a multi-zone system.
Single-zone systems are perfect for conditioning one area, like a room addition, a converted basement, or a single bedroom that’s always too hot or cold. One outdoor unit connects to one indoor unit.
Multi-zone systems are ideal for heating and cooling several rooms or an entire home. One outdoor unit can power multiple indoor air handlers, and each room gets its own thermostat control.
The compressor type in your outdoor unit also matters. Traditional rotary compressors are either running at full power or are completely off, making them less efficient.
Inverter compressors are the smarter choice. They adjust their speed based on the room’s needs, resulting in better efficiency, quieter operation, and more consistent temperatures.
For detailed information about energy savings and system types, check out the Ductless Heating & Cooling information from ENERGY STAR.
Sizing Your Mini Split: BTUs and SEER Ratings
Proper sizing is crucial for an efficient ductless mini split installation. An incorrectly sized system leads to high energy bills and uncomfortable temperatures.
Calculating BTUs starts with a rule of thumb: about 20 BTUs per square foot. However, factors like high ceilings, numerous windows, poor insulation, or sun exposure affect the cooling power you need.
| Square Footage (sq ft) | Recommended BTU Output |
|---|---|
| 150 – 250 | 5,000 – 6,000 |
| 250 – 350 | 7,000 – 8,000 |
| 350 – 450 | 9,000 – 10,000 |
| 450 – 550 | 12,000 |
| 550 – 750 | 14,000 – 18,000 |
| 750 – 1,000 | 21,000 – 24,000 |
| 1,000 – 1,200 | 24,000 – 30,000 |
This table is a starting point, but a proper load calculation considers your home’s unique characteristics.
Understanding SEER ratings is also important. SEER measures a system’s electrical efficiency. The government requires a minimum SEER of 15, but today’s high-efficiency models can reach ratings of 42 or higher. Higher-efficiency units cost more upfront but save money on monthly electric bills.
Choosing the Best Location for Your Units
Proper location is key to your system’s performance. For indoor unit placement, mount the air handler on an interior wall that connects directly to the outside to simplify running the lines. Install it at least six feet off the floor for proper air circulation and away from heat sources that could confuse the temperature sensor.
The unit must be perfectly level for drainage. A slight tilt can cause water to pool inside instead of draining out.
For outdoor unit placement, stability and airflow are paramount. The condenser needs a solid, level foundation, like a concrete pad or a sturdy wall bracket. Ensure adequate clearance on all sides for airflow and place it away from bedrooms to minimize noise.
The maximum distance between units varies, but most systems handle 50 feet or more. Some high-end models allow line set lengths up to 328 feet, offering incredible placement flexibility.
Clearance requirements are essential for proper operation, allowing air to flow freely through the condenser coil.
Electrical Requirements and Necessary Tools
Most mini splits need a dedicated circuit with its own breaker. Larger systems typically require 220 volts, while smaller units might use 110 volts. The wiring type is usually 14/4 conductor cable, carrying power and communication signals.
Always consult a licensed electrician for safe, code-compliant installation.
Professional installation requires specialized equipment beyond basic hand tools. You’ll need a flaring tool for leak-free copper tubing connections and a torque wrench to tighten fittings to exact specifications. Overtightening can damage the tubing, while under-tightening causes leaks.
A vacuum pump removes air and moisture from refrigerant lines, which is critical for system longevity. A manifold gauge set monitors pressures during installation and testing. A hole saw is needed for cutting the 2-3 inch opening through your wall.
Using the right tools correctly is the difference between a professional installation and a problematic DIY project.
Step-by-Step Ductless Mini Split Installation Guide
With planning complete and tools gathered, it’s time for the ductless mini split installation. While we’ll walk you through each step, safety is paramount. Always refer to your manufacturer’s instructions and call a professional if you feel unsure.
Before you start, remember to:
- Turn off power at the breaker to any circuits you’ll be working near.
- Wear appropriate safety gear like gloves, eye protection, and sturdy shoes.
- Be mindful of your surroundings, especially when drilling or moving heavy equipment.
Step 1: Mount the Indoor Unit
The indoor unit (air handler) delivers conditioned air. Correct mounting is crucial for stability and drainage.
First, locate the wall studs with a stud finder. Secure the mounting plate to at least two studs for a solid foundation. If studs aren’t available, use heavy-duty anchors rated for the unit’s weight (around 40-50 lbs).
Next, secure the mounting plate to the wall using the manufacturer’s template. You must ensure it’s perfectly level. The unit relies on gravity for condensation drainage, so an unlevel plate can cause leaks and water damage.
Finally, use the mounting plate as a guide to create a template for the hole for the line set, marking the exact spot for the wall penetration.
Step 2: Drill the Wall Penetration and Run the Line Set
This step creates a path for the lines connecting the indoor and outdoor units.
Start by drilling a small pilot hole from the inside at your marked spot. Angle this pilot hole slightly downwards to aid drainage and prevent water from pooling. This also lets you check for exterior obstructions.
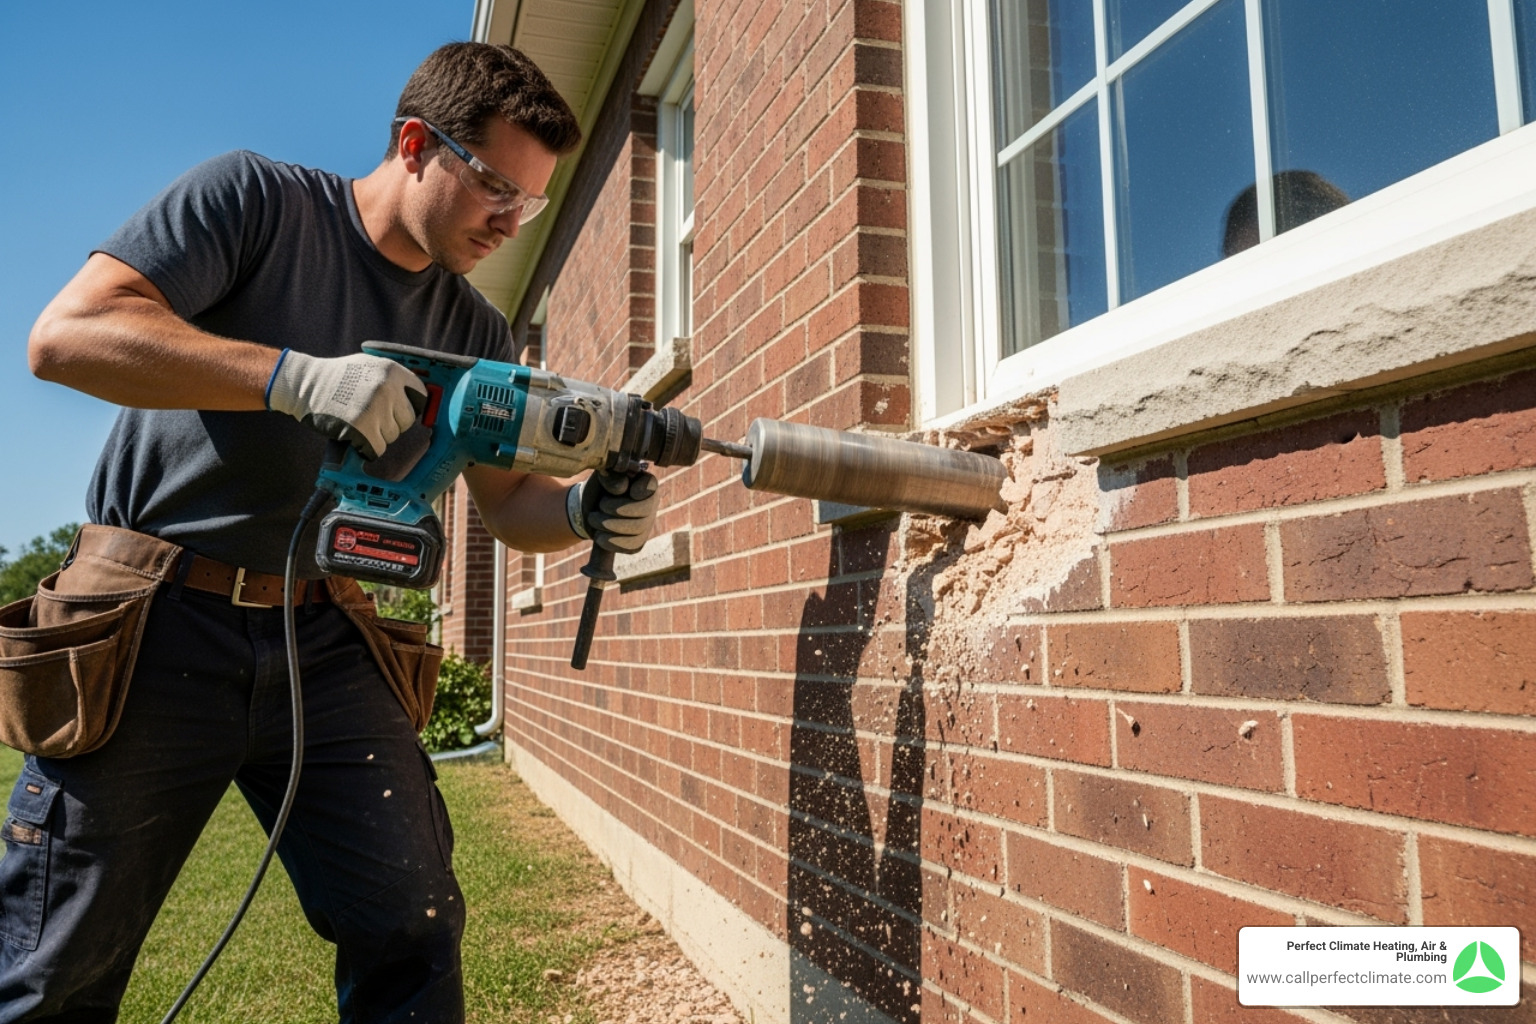
Using a hole saw (typically 2-3 inches), carefully drill through the wall from the inside. To prevent cracking exterior siding, try drilling in reverse at high speed with light pressure.
Once drilled, insert a wall sleeve. A wall sleeve, like a 2-inch PVC pipe, protects the lines and provides a clean finish.
Finally, bundle and pass the lines. Carefully gather the copper refrigerant lines, electrical communication cable, and condensate drain hose. Position the condensate line at the bottom of the bundle to ensure efficient drainage. Use electrical tape to bundle everything neatly for easier passage through the hole. Avoid kinking the copper lines, as this can cause serious damage.
Step 3: Place the Outdoor Condenser
The outdoor unit houses the compressor. Proper placement is key to its efficiency.
First, prepare a stable pad or wall bracket. The unit is heavy and vibrates, so it needs a flat, level, and sturdy surface like a concrete pad or a strong wall bracket. This prevents vibration and potential damage.
Next, ensure proper clearance around the unit as specified by the manufacturer. This allows for optimal airflow through the condenser coil, which is critical for efficiency.
Finally, route the bundled line set and electrical wires from the wall penetration to the outdoor unit to prepare for the final connections.
Step 4: Connect, Vacuum, and Charge the System
This is the most technical and critical step, requiring specialized tools and knowledge to ensure long-term performance.
First, flare the copper lines. Unless using pre-charged lines, you must cut the copper tubing to length, deburr the ends, and use an eccentric flaring tool to create a perfect, cone-shaped flare. A good flare is vital for a leak-free connection. You can add a bit of refrigerant oil or a sealant like Nylog to the flare face for an extra-tight seal.
Next, connect flare nuts with a torque wrench. Align the flared copper lines with the ports on both units, hand-tighten, then use a torque wrench to tighten them to the exact specifications in the manual. Proper torque is crucial to prevent leaks or damage.
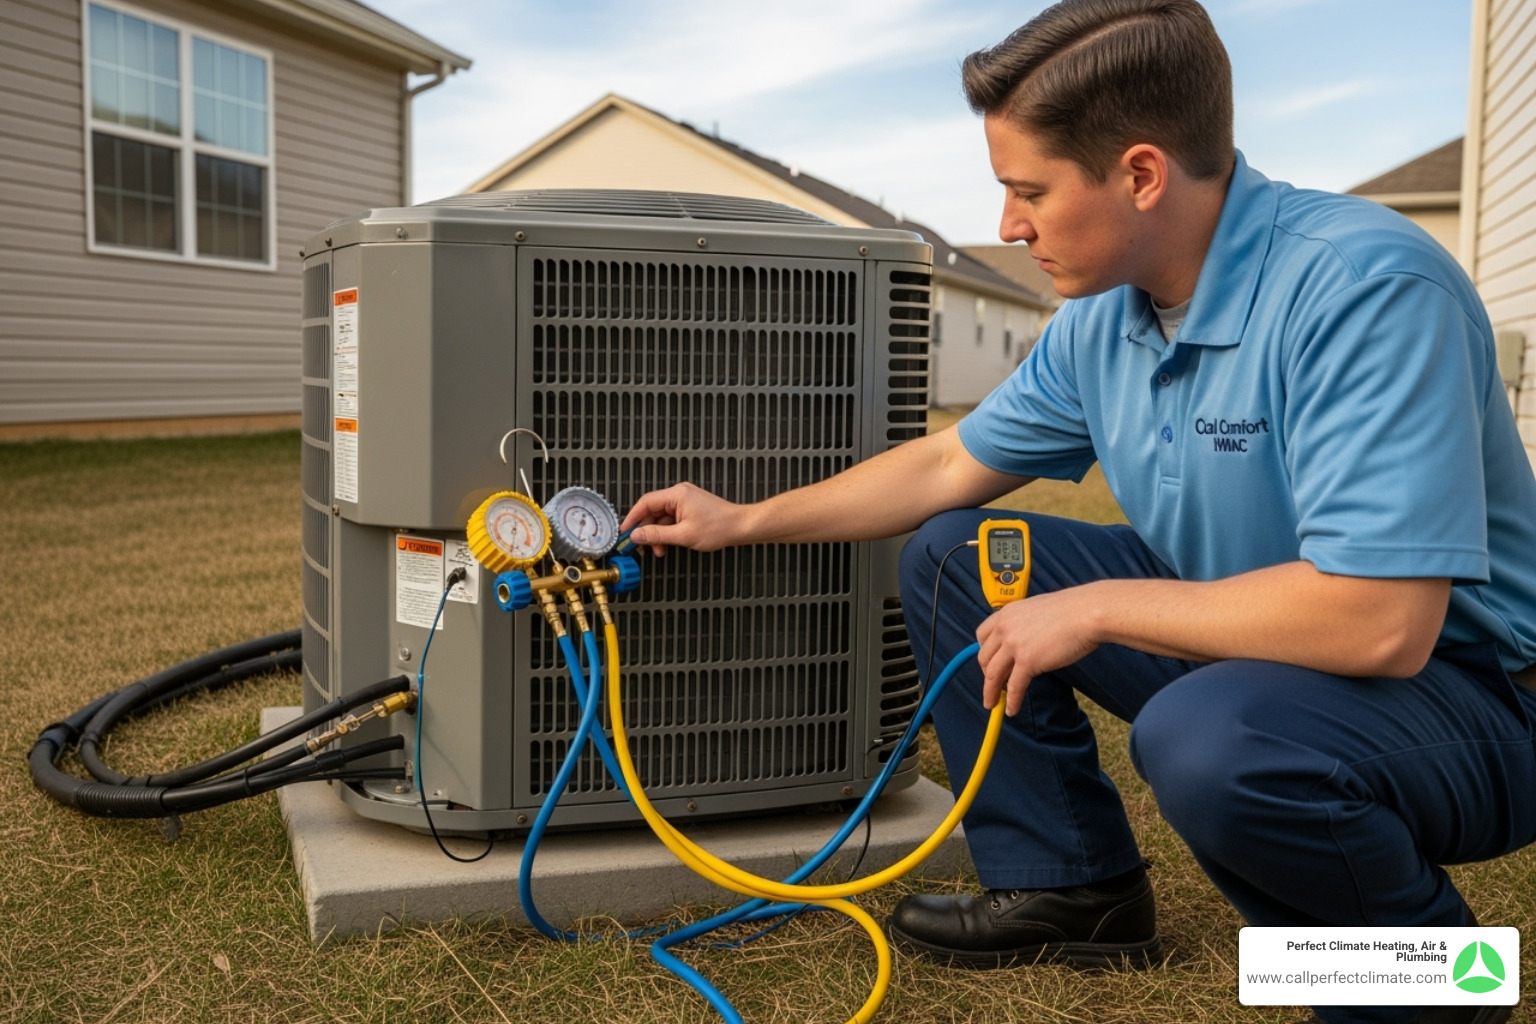
Before adding refrigerant, pressure test with nitrogen to detect leaks. Connect a nitrogen tank with a regulator and your manifold gauge set, then pressurize the lines (e.g., to 300 psi, check manual). Watch the gauge for at least 30 minutes. A pressure drop indicates a leak that must be found and fixed. A stable reading means the system is sealed.
Once leak-free, pull a vacuum to remove moisture. Connect your vacuum pump and a micron gauge. The pump removes air and moisture from the lines. Moisture can freeze, causing blockages and severe damage. Pull the vacuum down to at least 500 microns. Then, perform a standing vacuum test by turning off the pump and watching the gauge. If it rises, there’s still moisture or a tiny leak. Continue vacuuming until the vacuum holds steady.
Finally, with a deep vacuum held, release the refrigerant. Most mini splits are pre-charged for a standard line set length. Carefully open the service valves on the outdoor unit. Purge manifold hoses before connecting or disconnecting to prevent air from entering the system.
For a more in-depth technical guide, you can refer to resources like this detailed process explanation. Following these steps carefully ensures your mini split operates efficiently and reliably.
DIY vs. Professional Installation: Making the Right Choice
The idea of a DIY ductless mini split installation is tempting for cost savings, but we strongly advocate for professional installation. The complexity and risks involved make a certified technician the wisest choice.
Common Mistakes to Avoid in a DIY Ductless Mini Split Installation
DIY installations without proper training and tools can lead to critical mistakes, compromising performance and safety:
- Improper Sizing: Guessing the BTU output instead of performing a load calculation leads to an inefficient system.
- Refrigerant Leaks: Incorrect flaring or improper torque on flare nuts can cause refrigerant to escape, leading to system failure. Handling refrigerants requires EPA 608 certification.
- Incorrect Flaring: Poorly flared copper lines are a primary source of leaks and require a specialized tool and technique.
- Kinked Lines: Bending copper lines too sharply creates kinks that restrict refrigerant flow, impairing efficiency and potentially damaging the compressor.
- Poor Vacuum: Failing to pull a deep vacuum (below 500 microns) leaves air and moisture in the system, which can cause contamination, ice formation, and premature component failure.
- Electrical Errors: Incorrect wiring can lead to shorts, system damage, or fire hazards. Mishandling high voltage is extremely dangerous.
- Voiding the Manufacturer Warranty: Most manufacturers void warranties if the unit is not installed by a licensed HVAC professional, leaving you unprotected.
The Benefits of Hiring a Professional
The benefits of professional ductless mini split installation far outweigh the perceived savings of DIY.
- Expertise and Safety: Professionals have the training and certifications (like EPA 608) to handle refrigerants and electrical work safely and correctly, ensuring compliance with local codes.
- Proper Tools and Equipment: Technicians possess specialized tools like micron gauges, vacuum pumps, and torque wrenches for a precise, leak-free installation.
- Code Compliance: A professional ensures your system meets all local building codes and safety standards, which is important for insurance and home resale.
- System Performance and Longevity: A correctly installed mini split operates at peak efficiency, provides consistent comfort, and has a longer lifespan, saving you money on energy and repairs.
- Warranty Protection: Professional installation preserves your manufacturer’s warranty, protecting your investment.
- Labor Costs: Labor cost is an investment in proper installation. The cost varies based on installation complexity, number of units, and technician experience. You can learn more about general pricing factors on sites like HomeAdvisor.
Hiring a professional ensures your ductless mini split installation is done right the first time, providing reliable, efficient comfort for years.
Frequently Asked Questions about Mini Split Installation
Here are answers to common questions we receive about ductless mini split installation.
Do I need a mini split in every room?
You don’t need a unit in every room, but you need an individual indoor unit (air handler) for each specific zone you want to condition.
Single rooms like a garage conversion or master bedroom addition work perfectly with a single-zone system, where one outdoor unit connects to one indoor unit.
For customized comfort in multiple areas, multi-zone systems are ideal. One outdoor unit can connect to multiple indoor units (typically 2-5), allowing you to set different temperatures in different rooms.
This zoned approach means you only condition the spaces you’re using, leading to significant energy savings.
How do I maintain my mini split after installation?
Mini splits are relatively low-maintenance compared to traditional systems. A few simple tasks will keep your system running efficiently.
Cleaning the filters regularly is the most important homeowner task. Rinse or vacuum the indoor unit filters every few weeks during heavy use to ensure good airflow, lower energy bills, and better air quality.
Keep your outdoor unit breathing freely by periodically clearing away leaves, grass clippings, or other debris that can obstruct airflow to the condenser coils.
Schedule annual professional maintenance for deeper care. Our technicians check refrigerant levels, inspect for leaks, clean components, test electrical connections, and ensure the condensate drain is clear. This proactive approach prevents expensive problems and ensures long-term efficiency.
What is the typical cost for a professional ductless mini split installation?
The cost of a professional installation depends on several factors.
System size and capacity are major factors; a small, single-zone unit costs less than a powerful multi-zone system. The number of zones also impacts equipment and labor costs.
Installation complexity varies by home. A simple ground-level installation is less expensive than mounting units on second floors or running lines through difficult materials. The length of refrigerant lines also affects the total cost.
System efficiency and features also play a role. High-efficiency models with advanced technology cost more upfront but deliver substantial long-term energy savings.
Because every home is unique, we provide customized quotes after an on-site evaluation to ensure transparency and meet your specific comfort goals.
Conclusion
This guide has covered everything from how ductless systems work to the details of a proper ductless mini split installation, equipping you to make informed decisions about your home comfort.
The beauty of ductless systems is their flexibility. They are an ideal solution for older homes without ductwork, new additions, or anyone seeking zoned temperature control. Their ability to create individual comfort zones while maintaining high energy efficiency makes them a smart investment.
We’ve highlighted the importance of proper sizing, placement, and the technical precision required for success. While a DIY approach is tempting, a professional installation avoids common pitfalls like refrigerant leaks, voided warranties, and inefficient operation.
Perfect Climate Heating, Air & Plumbing’s certified technicians provide the tools, expertise, and peace of mind that come with a professional installation. We understand that every home and family has unique comfort needs. From our home base in Haubstadt, we serve families throughout Evansville, Princeton, Newburgh, and surrounding Indiana communities with a commitment to excellence.
Your investment deserves a professional touch to ensure reliable, efficient operation. Avoid the risk of voided warranties and costly repairs by having it done right the first time.
Ready to transform your home comfort? Let’s make it happen together.
Schedule your professional mini split installation in Patoka, IN


