Preparing Your Furnace for Winter: A Guide
Stay warm and cozy all winter long! Get essential heating tips and insights to keep your system running efficiently through the coldest months. Comfort starts here.

Check and Replace Air Filters
As the cold months approach, ensuring your furnace is ready to perform efficiently is crucial. A well-maintained furnace keeps your home warm and cozy and prevents unexpected breakdowns in the middle of winter. Preparing your furnace for winter involves several easy-to-follow steps that can help maintain its efficiency and extend its lifespan.
Importance of Clean Filters
Clean air filters are crucial for the efficient operation of your furnace. Dirty filters block airflow, making the furnace work harder to circulate air through your home. This strain can lead to higher energy bills and potential furnace repair needs. Additionally, clogged filters can reduce the air quality inside your home, circulating dust and allergens.
Replacing or cleaning the filters regularly ensures that your furnace runs smoothly and efficiently. Clean filters help maintain good air quality, which is essential for the health of everyone in your household.
How to Replace Filters
Replacing air filters is a simple task that you can do yourself. Here’s a quick guide:
- Turn Off the Furnace: Before you start, make sure the furnace is turned off to avoid any safety risks.
- Locate the Filter: Find the filter slot in your furnace, usually located near the blower.
- Remove the Old Filter: Slide out the old filter and dispose of it properly.
- Inspect the New Filter: Check the new filter for any damage before installing it.
- Insert the New Filter: Slide the new filter into the slot, ensuring that it is secured and oriented correctly. The arrows on the filter should point towards the furnace.
- Turn On the Furnace: Once the new filter is in place, turn the furnace back on.
Regularly replacing filters, ideally every three months, can prevent many common furnace issues and keep your system functioning efficiently.
Inspect and Clean Furnace Components
Checking the Burner and Flame Sensor
The burner and flame sensor are critical components of your furnace. The burner ignites the gas to produce heat, while the flame sensor monitors the flame to ensure it’s burning correctly. Over time, these components can become dirty or malfunction, leading to inefficient operation or even system failure.
To inspect these parts, turn off your furnace first. You can visually examine the burner for any signs of rust or dirt buildup. Clean any debris with a soft brush. For the flame sensor, remove it carefully and clean it with a fine sandpaper or steel wool to remove any residue.
Cleaning Blower Assembly and Motor
The blower assembly and motor are responsible for distributing warm air throughout your home. Dust and debris can accumulate on these components, reducing their efficiency and potentially causing overheating.
Cleaning the blower assembly involves:
- Turning Off the Power: Always ensure the furnace is off before starting any cleaning.
- Removing the Blower: Locate and unscrew the blower compartment. Carefully remove the blower unit.
- Cleaning the Blower: Use a vacuum and a small brush to remove dust and debris from the blower blades and surrounding areas.
- Inspecting the Motor: Check the motor for dust, and clean it gently with a dry cloth.
Regular cleaning of these components helps maintain efficient airflow and prolongs the furnace’s lifespan. If you’re uncomfortable performing these tasks, our professionals can handle them for you, ensuring your furnace remains in top condition.
Testing the Thermostat
Ensuring Proper Functionality
The thermostat controls your furnace and ensures it maintains the desired temperature in your home. A malfunctioning thermostat can lead to inconsistencies in heating and increased energy consumption. To ensure that your thermostat is functioning correctly, start by checking the settings. Make sure it is set to heating mode and the correct temperature.
Next, test the thermostat by gradually adjusting the temperature setting. The furnace should respond by turning on or off accordingly. If the furnace does not respond as expected, it may be a sign of a faulty thermostat. Replacing or repairing the thermostat can resolve these issues and help maintain a comfortable indoor environment.
Calibrating Your Thermostat
Calibrating your thermostat is crucial for accurate temperature control. An inaccurate thermostat can cause your furnace to run too much or too little, leading to discomfort and higher energy costs. Begin by comparing your thermostat’s reading with an accurate room thermometer. If there is a discrepancy, follow these steps:
- Turn Off Power: Switch off the furnace to prevent any electrical issues.
- Remove the Cover: Open the thermostat to access the internal components.
- Clean the Inside: Dust and dirt can affect readings, so gently clean the inside with a soft brush.
- Check and Adjust Calibration: Use the manufacturer’s instructions to adjust the calibration screw or dial, if available.
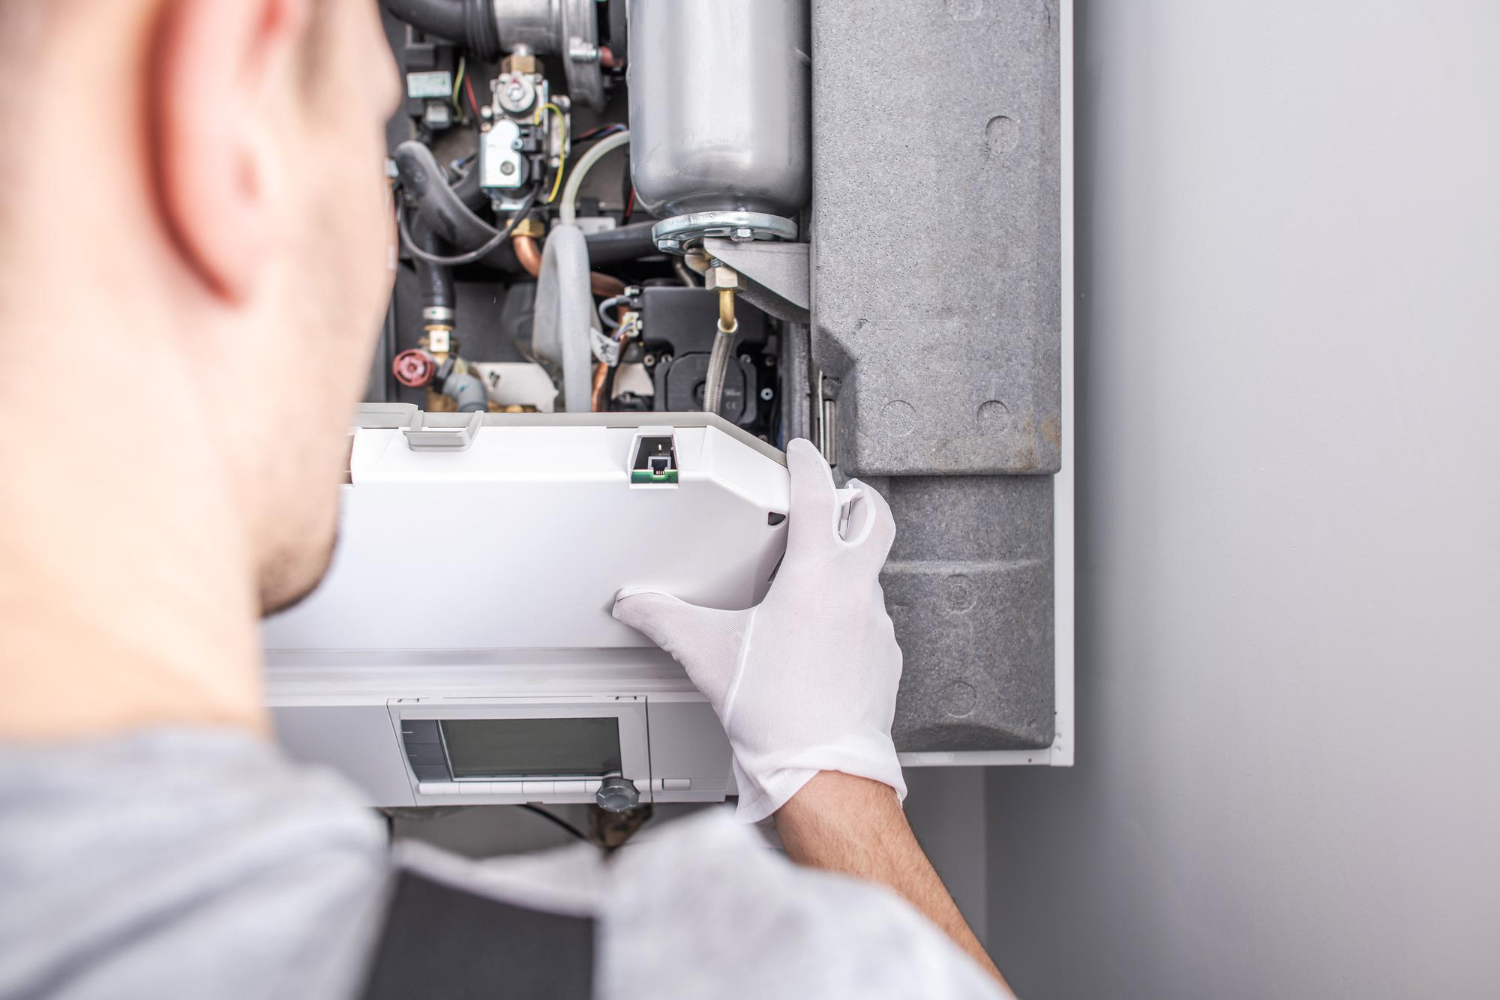
Schedule a Professional Inspection
Benefits of a Professional Check-Up
Scheduling a professional inspection for your furnace offers several benefits. Our professionals can identify potential issues before they become significant problems, saving you time and money on furnace repairs. They can also optimize your furnace’s performance, ensuring it operates efficiently throughout the winter months.
A professional inspection typically includes a thorough check of all furnace components, including the heat exchanger, blower motor, and electrical connections. These inspections ensure that your furnace is safe to use and free from any defects that could lead to a breakdown.
What to Expect During a Professional Inspection
During a professional inspection, our technicians will perform a detailed assessment of your furnace. Here’s what you can expect:
- Visual Inspection: Checking for any visible signs of wear and tear or potential issues.
- Safety Checks: Ensuring all safety features are functioning correctly.
- Component Testing: Testing the blower motor, heat exchanger, and other key components.
- Cleaning: Cleaning critical parts to ensure optimal performance.
- System Evaluation: Providing recommendations for repairs or maintenance based on their findings.
What Our Clients
Say About Us
Our clients consistently praise our dedication and expertise. They appreciate our commitment to meeting their needs and providing sound advice, which has fostered long-lasting relationships.

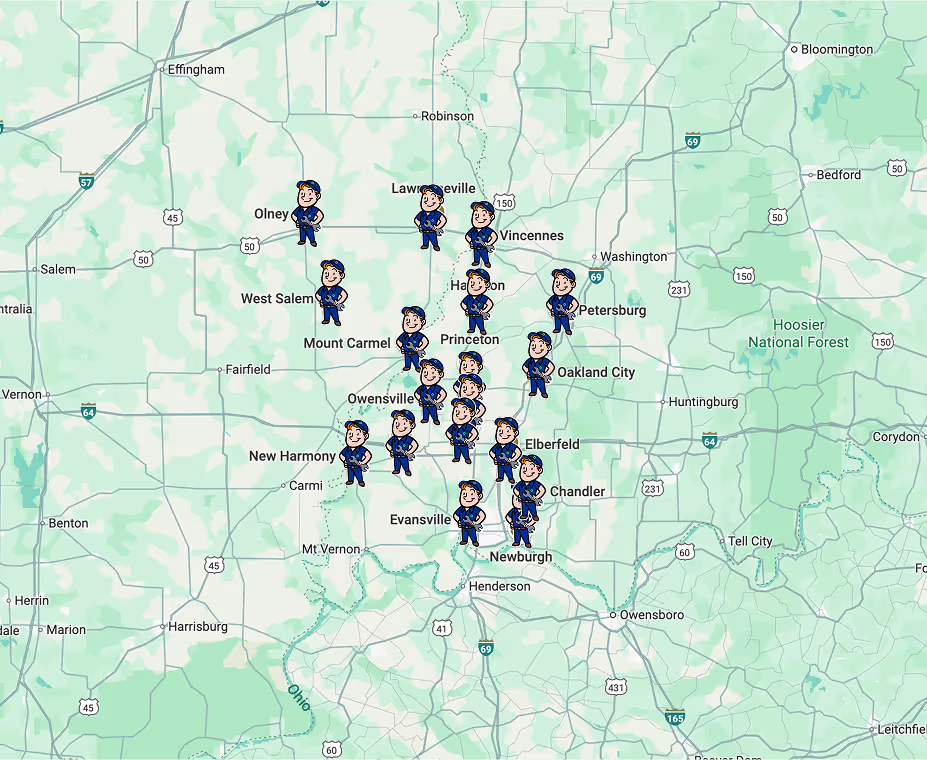
SERVICE AREAS
We proudly serve clients throughout our surrounding communities, delivering reliable service wherever you need us. No matter the location, our team is committed to the same high-quality results and responsive support.